Grumman Duck
John's latest build is a Grumman Duck seaplane. This model is being built to a scale of 1/4.6 to suit the power output of its Fiala 85cc 4 stroke engine and to ensure it is not to big to fly from the local lake. Design of the model started in mid 2023 and the first wood parts were cut on the teams CNC machines in late 2023. A big design feature of the Duck is its complicated retracting undercarriage which involved a lot of head scratching to mimic the full size. To check the design, a 3D model of the undercarriage was printed to check the geometry before machining of the metal parts is commenced. It is intended to operate the retracts by hydraulic pistons and pumps to get a scale retraction speed.
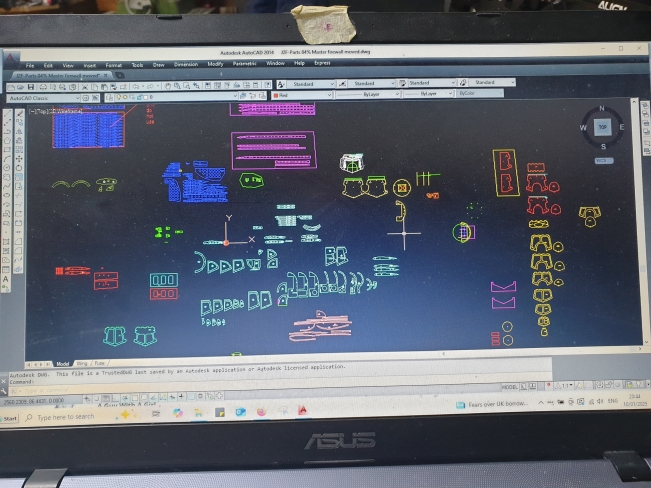
The model was started by designing all the parts in Autocad and formatting them to be cut on the teams CNC milling machine.


Starting the wing construction whilst still working on the detail design of the fuselage on the computer
Top wing center section framed up


Tailplane and elevators under construction.
Starting to frame up one fuselage side


Partially sheeting one side of the fuz before lifting it from the bench
Addind the second side fuz frames whilst ensuring everything remains straight and true.


A jig was used to hold the top wing centre section at the correct incidence whilst making the cabane struts.
Tricky convex curves to sheet on the lower fuz.


Preparing the top wings to align with the center section.

Checking top wing alignment.
Cabane strut wirework all finished. This will eventually be sheeted in balsa. Top fuz sheeting also added.

Carving the lower wing wing root fairings.
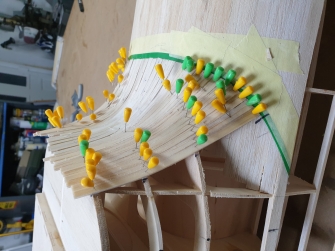
Sheeting the front of the float, this area has compound curves so it was made by planking with thin strips of balsa.


Checking the tailplane and fin alignment prior to glueing into position.

Main retract formers being assembled before construction of the float starts.
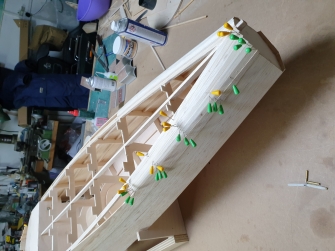
Adding sheeting to the rear of the float.

3D printed model of the prototype undercarriage for the Duck. Used to check geometry and clearences.
Working on the CAD design for the undercarriage to get the geometry correct. This work was carried out by a good friend Romeo Vingali who then produced the 3D files to enable the printed test undercarriage to be printed out by Ghost Squadron team member Alan Carter using his home made 3D printer.
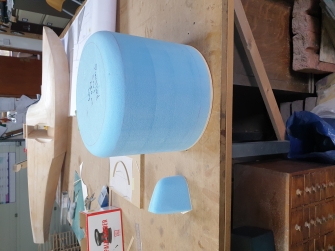
The forms for the cowling and tail cone were carved from blue foam before being used to produce fibreglass parts.
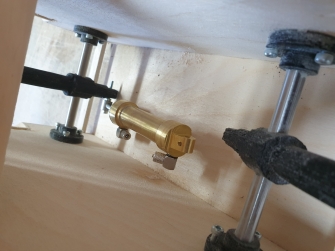
With the float upside down the hydraulic cylinders to lift the undercarriage are trial fitted using the 3D printed parts to get the correct geometry.
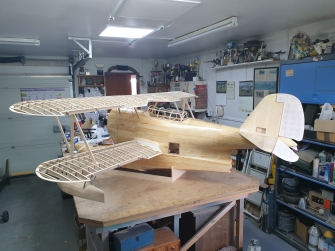
Fitting the float to the fuselage and assembling the complete model to check the alignment of everything.
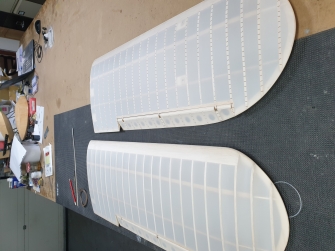
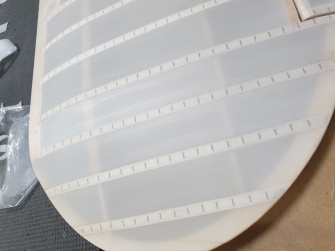
Scale rib stitching was added to all ribs using very small pieces of 0.4mm wide tape before being covered with laser cut strips of Diatex 1000 doped on. This process took 6 weeks just to add the stitches and cover strips. There are 110 ribs in the wings and the outer panels have 26 stitches on each rib and in the ares of the prop wash this is for scale reasons doubled up to 52 stitches per rib.
All the open structures are covered in Diatex 1000 and given 3 coats of dope to seal the weave.
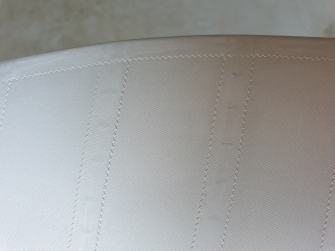
A close up of the rib stirching and tapes on an elevator
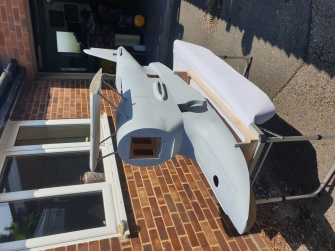
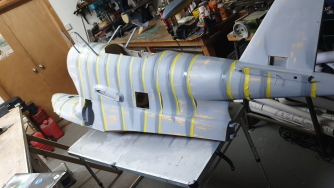
Panel lines were added with high build primer sprayed on against each masked off panel line.
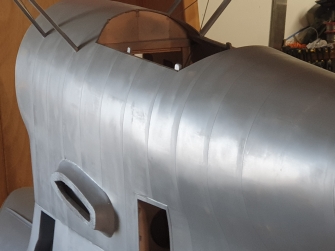
After glassing all the sheeted parts with 25g glass cloth and G4 it is time to get somme primer on.
Panel lines showing after the tape has been removed.
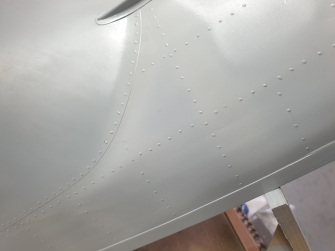
Next it was time to add the rivits all over the model. As the full size is assembled with domed rivits, these were duplicated on the model with blobs of white glue individually applied with a hypadermic syringe. To put the rivet detail on the whole model took 2 weeks.
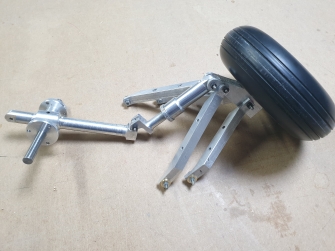
The Undercarriage was expertly machined by a good friend Jason Skidmore on his home made CNC milling machine using the 3D cad drawing produced by another good friend Romeo Vingali
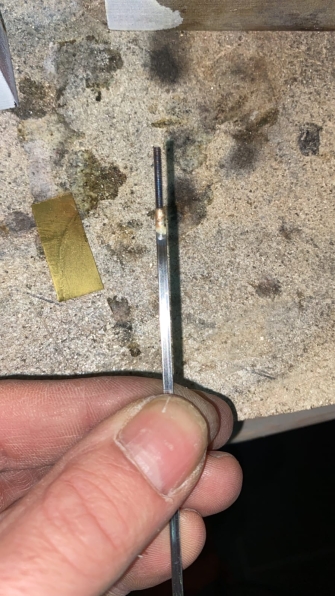
The rigging wires are functional and are made from Mick Reeves flat rigging wire with silver soldered fork ends and threaded adjusters.
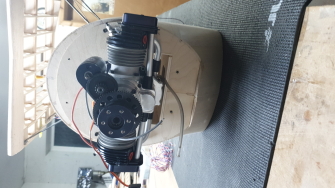
Trial fitting of the Fiala 85cc four stroke engine with onboard starter.
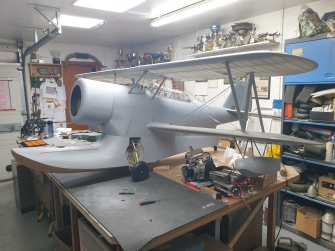
Trial fit of all the parts, nearly ready for paint.
Check back for more updates as the model progresses through the painting stage and final assembly.
.


